Author Archives: Sophie Whiptank - aka Bart

Unknown's avatar

About Sophie Whiptank - aka Bart

I'm just a bloke doing some stuff, the more interesting bits I post on my blog. Scroll down far enough and you'll see me riding from Melbourne Australia to Birmingham, England in 2014. But now I'm working on another project, a single cylinder motorbike engine at 2750cc!

Clocking on

Standard

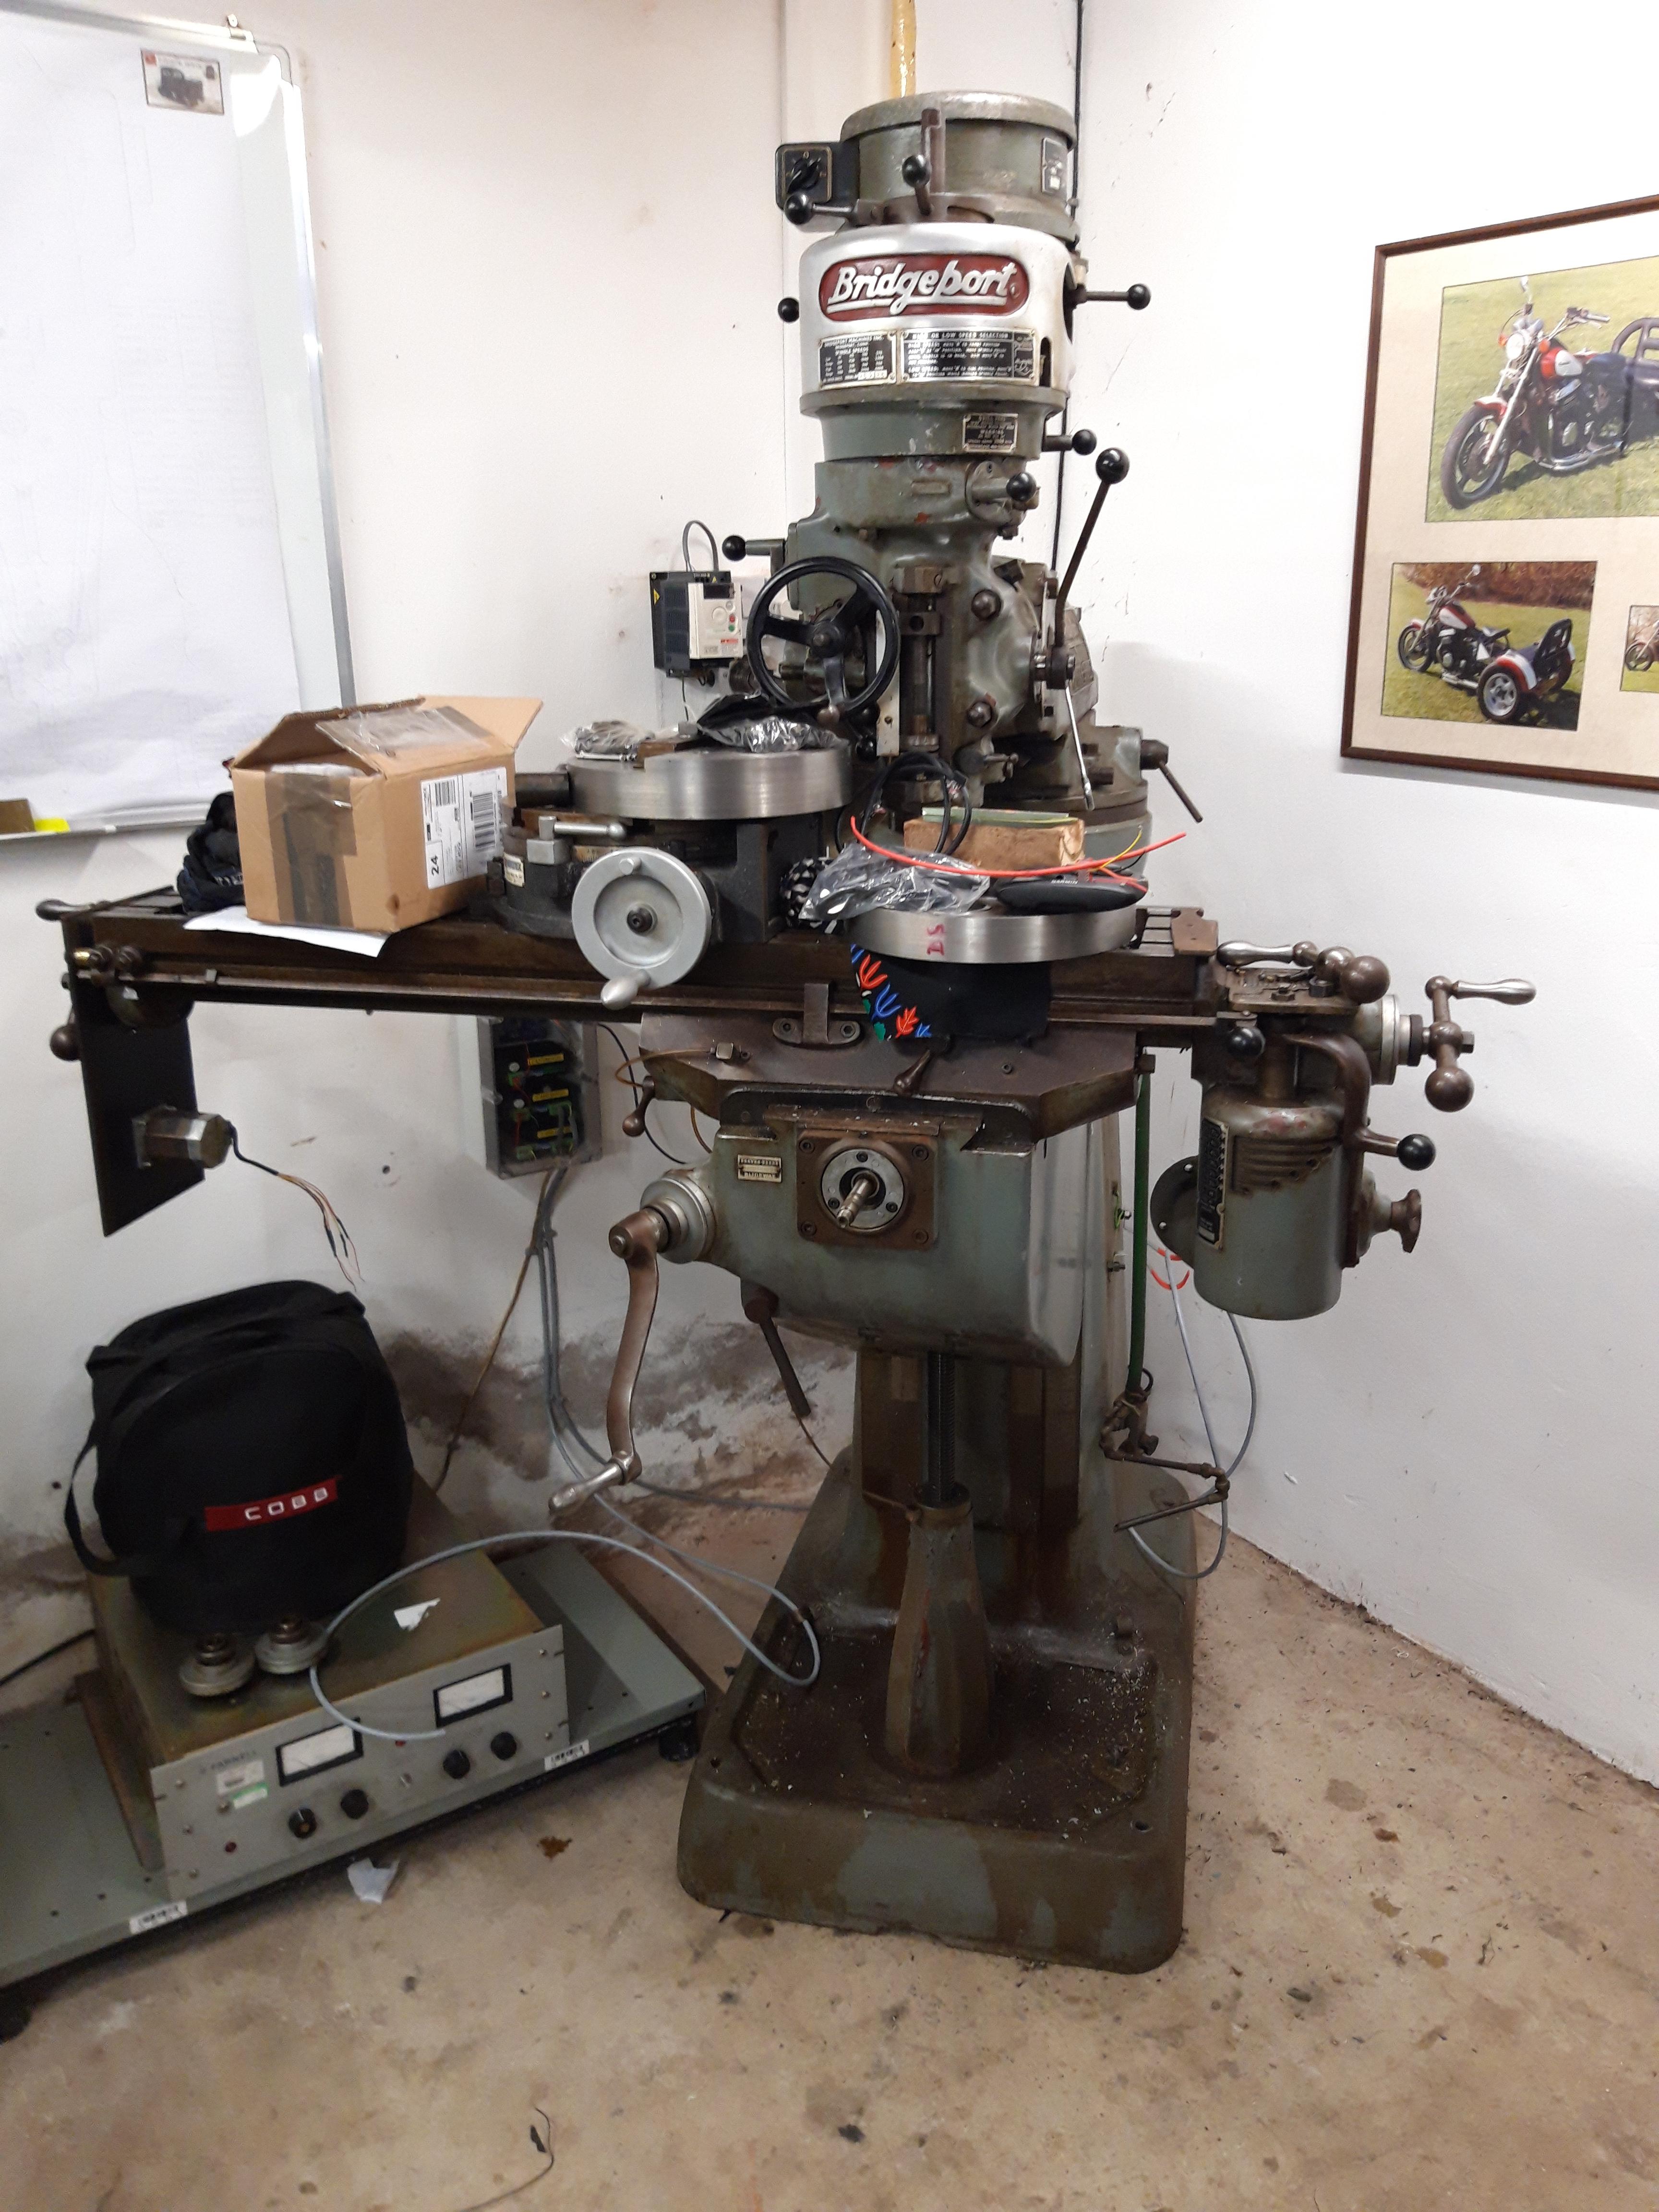
Now I’m happy with my boring setup, I’m working on the big end for real. Setting up the rod on the Bridgeport is probably the hardest part, as it takes ages to get everything straight and level.

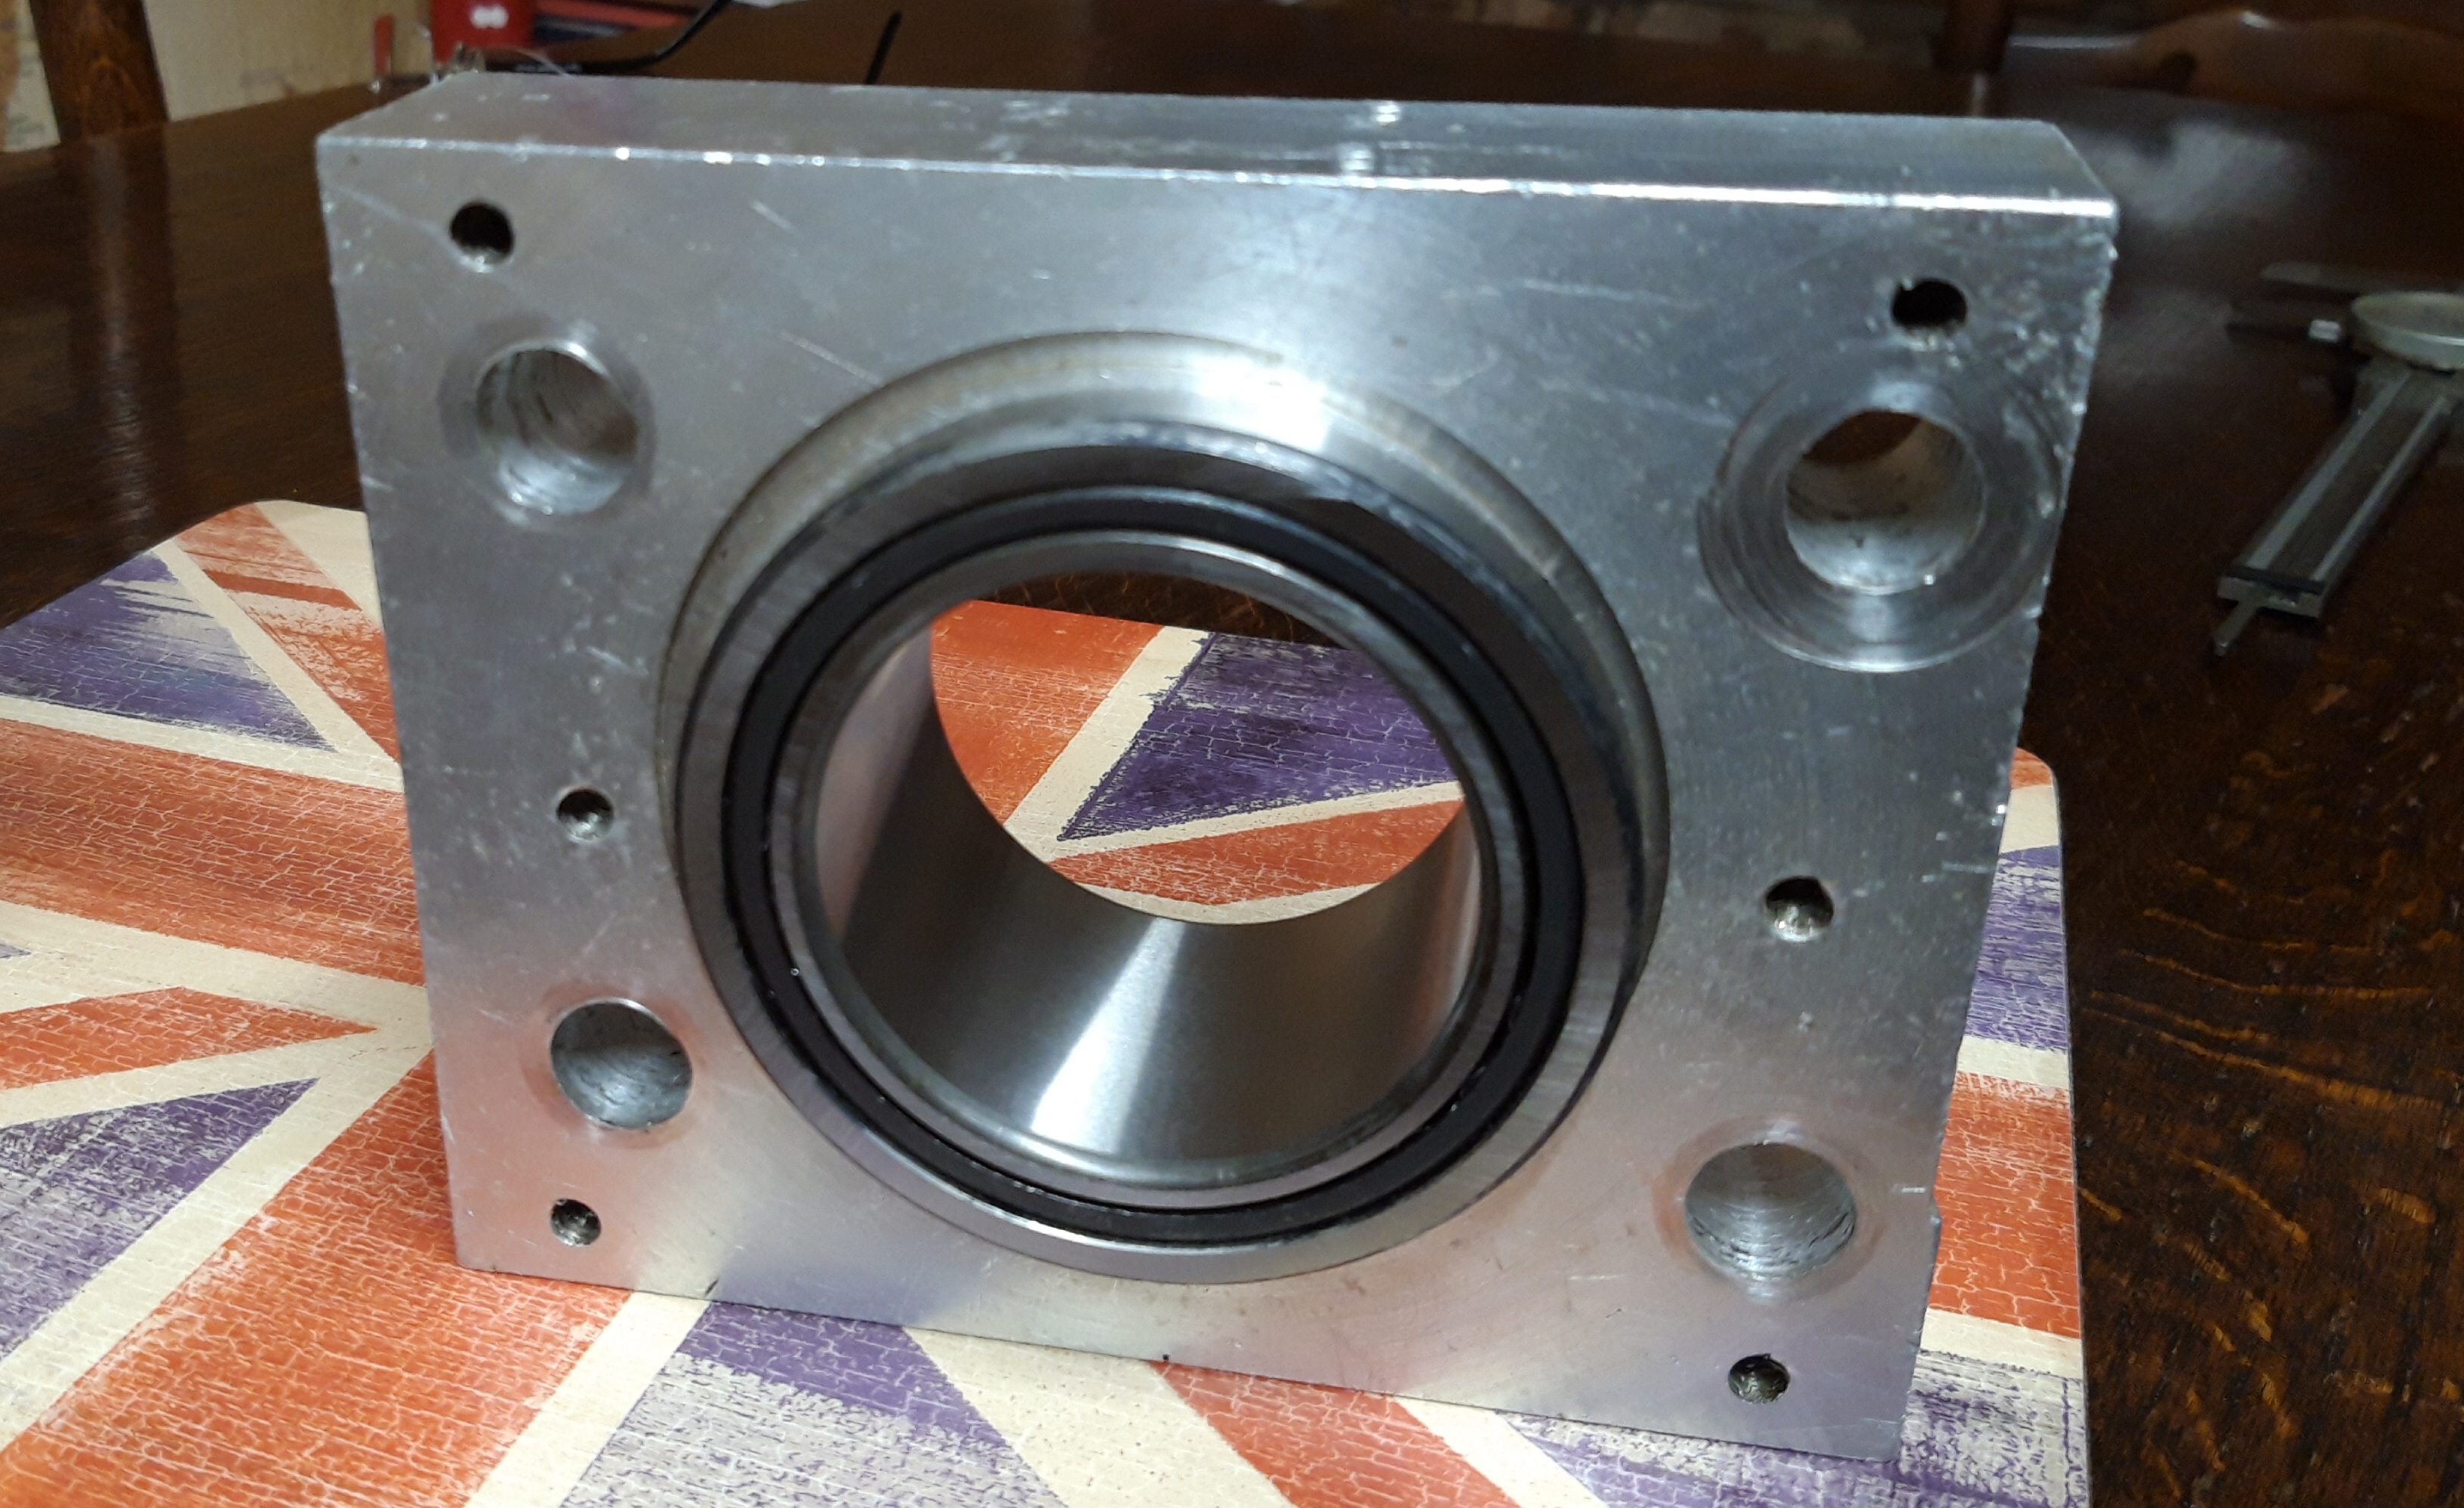
The Mk I eyeball isn’t accurate enough, so it’s a job for Uncle Ernie’s clock. One of a few things of his I still have. The rod is a bit thick at the bottom so will need finishing to the bearing width. I’ll aim for the same bore diameter as the bearing is a good fit in the test piece.

A bit nerve racking as a lot of work has gone in so far, and it’s so easy to muck things up – especially bore diameters!!

It fits!

Standard

With the trial bore completed, measured and measured again, I thought I’d try pressing it in. I put the bearing in the freezer over night, and warmed up the ally in the oven.

The bearing went in very easily and grabbed itself tight when everything came to a constant room temperature. The bearing is reassuring tight, but still runs freely – I’m happy with that. Even Bob said well done!

Onto the rod itself next for the final article. When I’ve got somewhere near I’ll press the bearing out of the test piece. (Or saw it out). As long as I can reliably repeat the process, I’ll have a finished rod 🙂

Trial bore

Standard

So far, so good – although it’s a slow process. Getting to grips with a new boring tool and machine takes a while. The tools seem to be working well, I’m getting a lovely finish on the finest feed and the bore size corresponds to the graduation marks.

I’m starting to hate aluminium swarf though, it gets everywhere! I can only take a 25 thou cut, so opening the bore from half an inch to 80mm (3.149") is going to take a while. And when I’ve finished?

Start again on the real job, the conrod!!

Boring work

Standard

I have a couple of weeks off work, still during lockdown so I’m hoping to get some time in the shed. One job I’ve been putting off is boring the big end of the conrod.

A lot of work has gone into it so far, mostly by Bob, so I don’t want to mess it up and have to start again. I’m using the Bridgeport as it has a power feed to the quill.

The rod is too big to turn on the lathe, so boring from the top is the best option. I’ve setup a test piece so I can check out the boring tools that came with the mill.

A good result would be to get the bearing pressed in before I have to start work again. Stay safe everyone 🙂

Driving the Z

Standard

I decided not to motorize the handle that lifts the knee. I’d need an enormous motor for starters, and stepper motors don’t go much over 4nm. The weight of the table, cross slide etc. presents the first problem.

The second issue is the handle driving the knee, which exits at an angle (not perpendicular) with no end cap on it. The mill would have to be accurately drilled and tapped, in situ, to mount the motor. Lots of problems to overcome.

Instead I’m driving the quill to achieve my Z axis. I’m limited to 4" of CNC travel, which should be enough. I can also manually drive the Knee. I went for the largest pulley to get the most torque and steps per mm.

Mounting the motor for the Z was a bit of a faff, but I’m there now. Just a case of calibration and fine tuning now 🙂

A tidy box

Standard

I rescued 16 plastic boxes from work before Christmas during an office clearout. They were destined for the bin!

Just the right size to mount three microstep motor drivers in and an Arduino running GRBL. Neat!

The more observant will notice the Z axis controller is wired. These drivers will fry themselves without a load from a motor, so yes, the Z axis is also done!

Motor mounted

Standard

Great progress in the garage last week, mostly due to a week off work and a lockdown in place. I have both motors mounted for the X and Y axis, microstep controllers in a tidy box and a working 2-axis solution!!

I still have to calibrate it all and fine tune it, work out the backlash and see whether I can program that in too. But so far I’m really pleased. I’ll see if I can post a video to YouTube and link it here.

As always, whenever there’s good progress there’s still much to do. But I’m very happy to have come this far!

Midway through. . .

Standard

A bit messy granted, but here’s a pic taken mid way through the CNC conversion of the Bridgeport. The X axis motor is connected to the shaft, with a 15mm 5m timing belt running through a 6:1 reduction drive. All bolted up using 6mm plates cut to size.

The X axis is on the left hand side, and took some fiddling to get right. The handle manages the end float of that screw, so I had to make a bush the right size and be careful in the tightening order.

The microstep controllers are mounted neatly in a project box, along with the Arduino running GRBL. Lots to do still, but it’s keeping me occupied during the lockdown. I’m really looking forward to seeing it run now!

Back to basics

Standard

What a crazy world we’re living in right now, with everything shut down for the Corona virus. I hope anyone reading this is safe snd well.

The enforced stay home has given me some more tinker time, so I’ve gone back to basics with a single motor & step driver. The arduino is running grbl now, and connected to a Raspberry Pi running bCNC.

It all seems to work rather well, and has really helped my understanding of how it all fits together. Nick and Matt have been a great help, remotely of course.

The next job is to fit it all into a box to mount on the wall, move the humongous power supply and get it all connected securely. The motors, mounts, pulleys etc. also need sorting, so there’s still a lot to do!